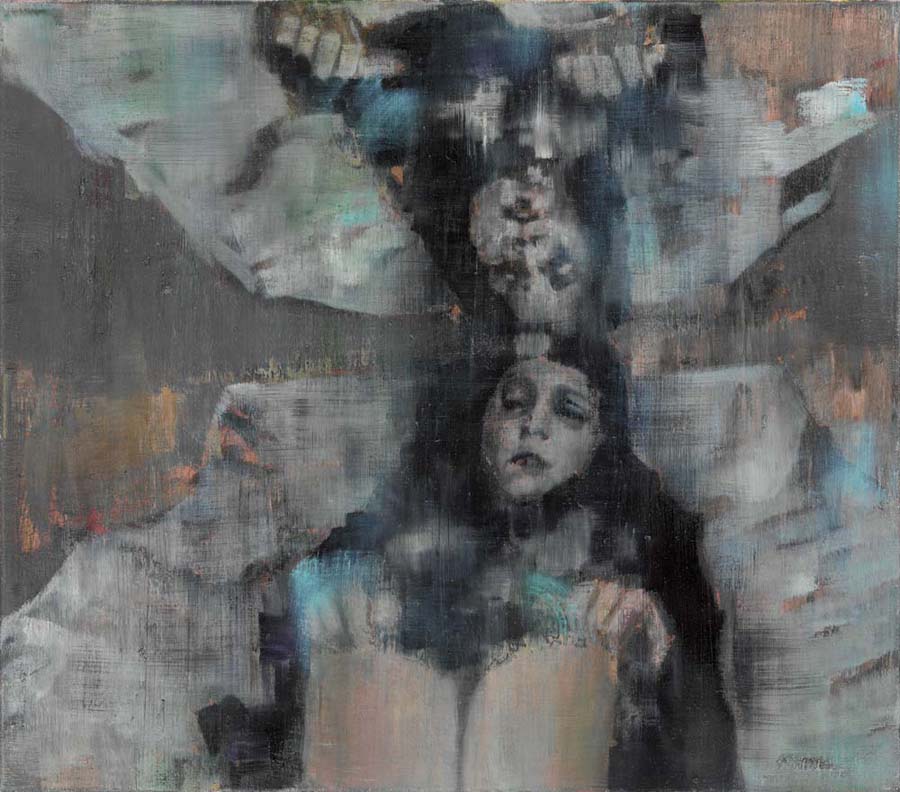
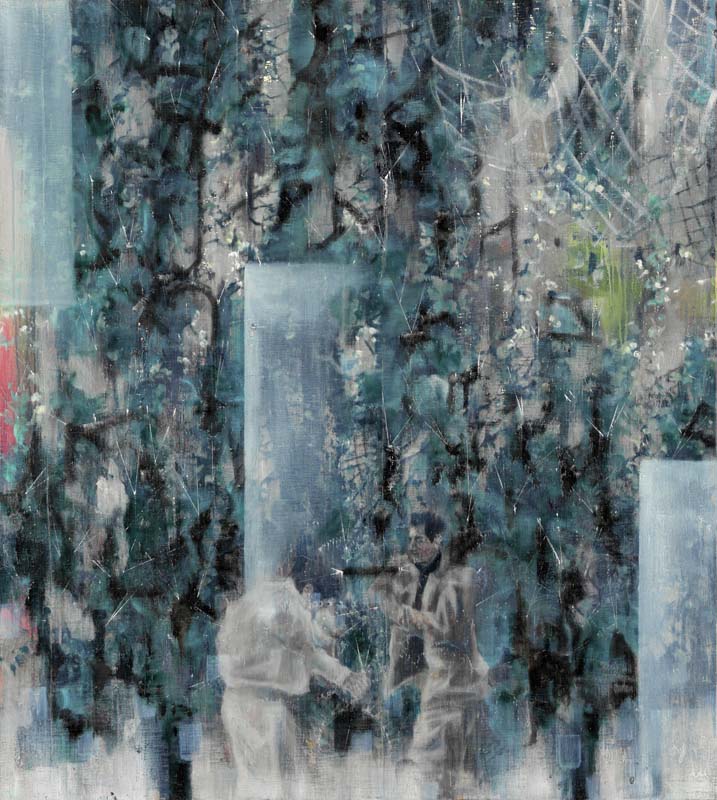
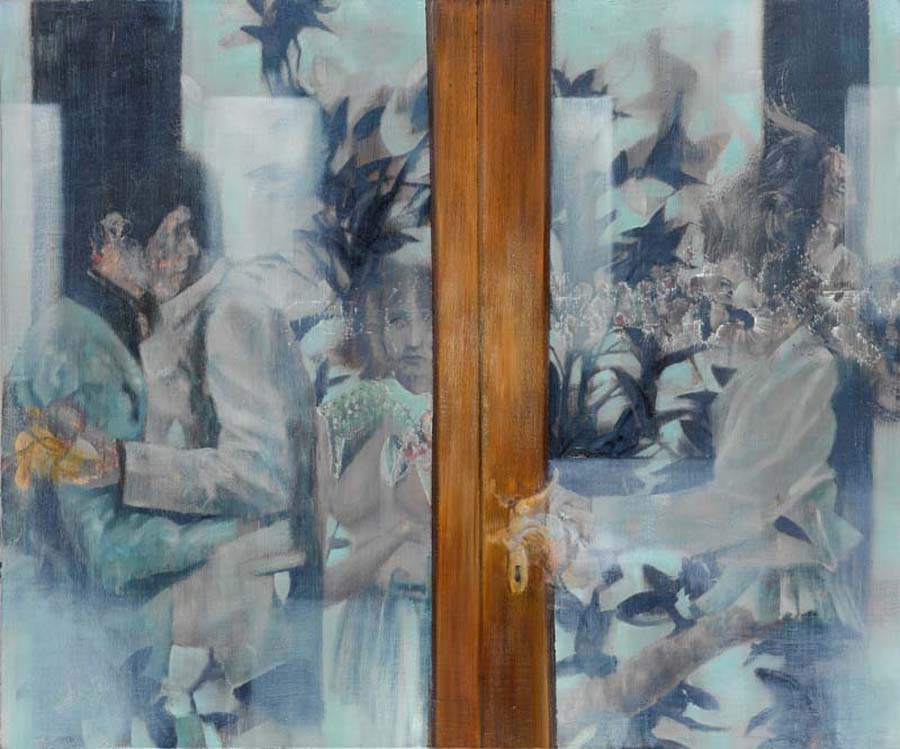
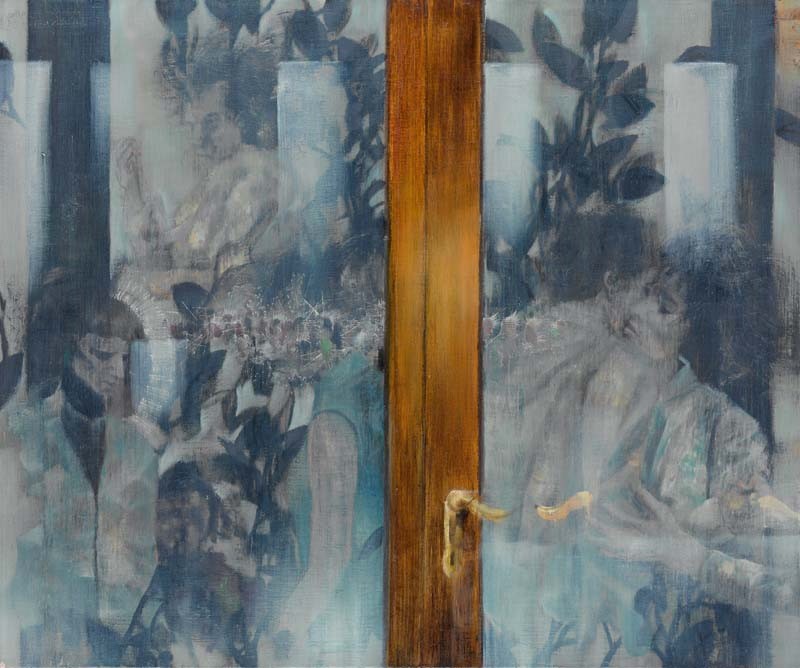
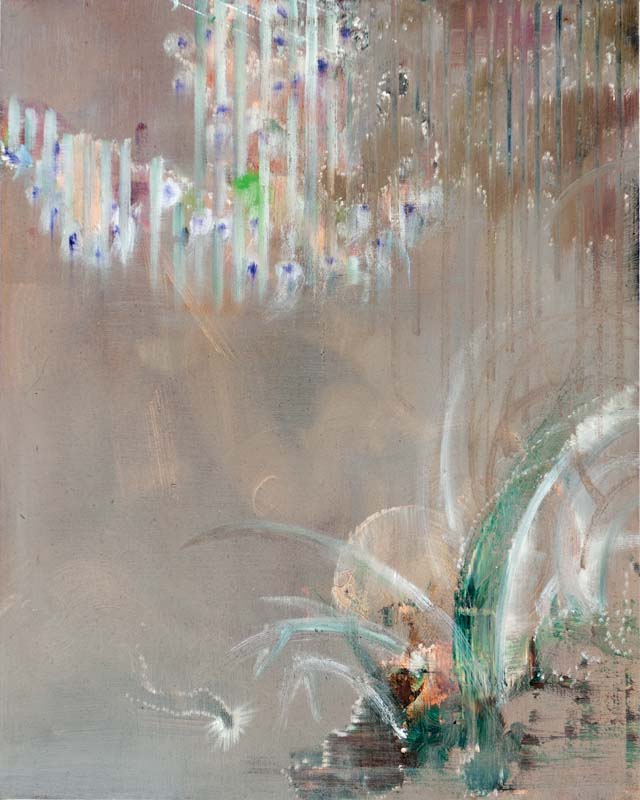
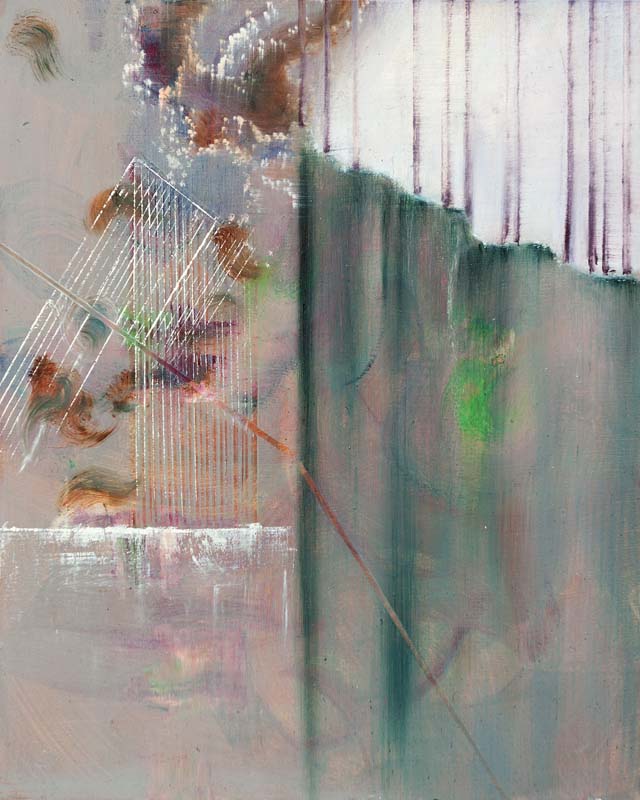
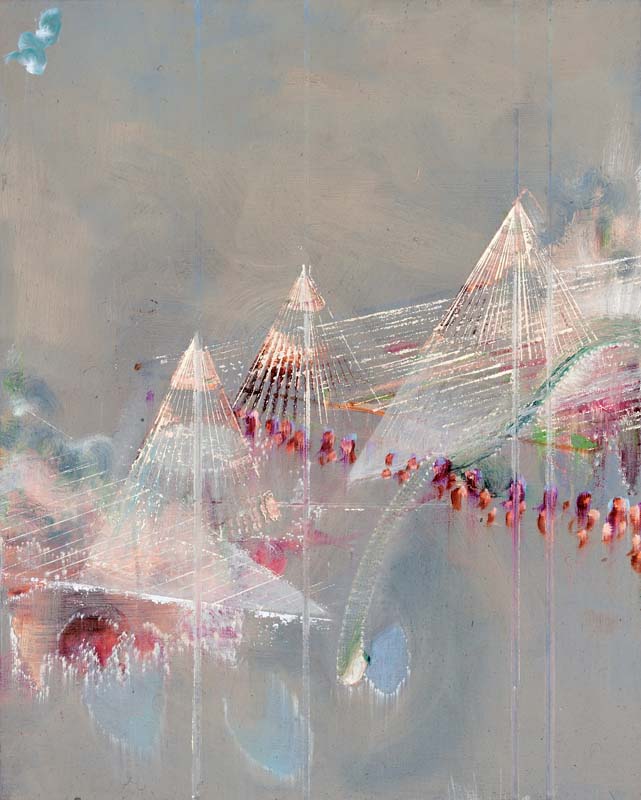
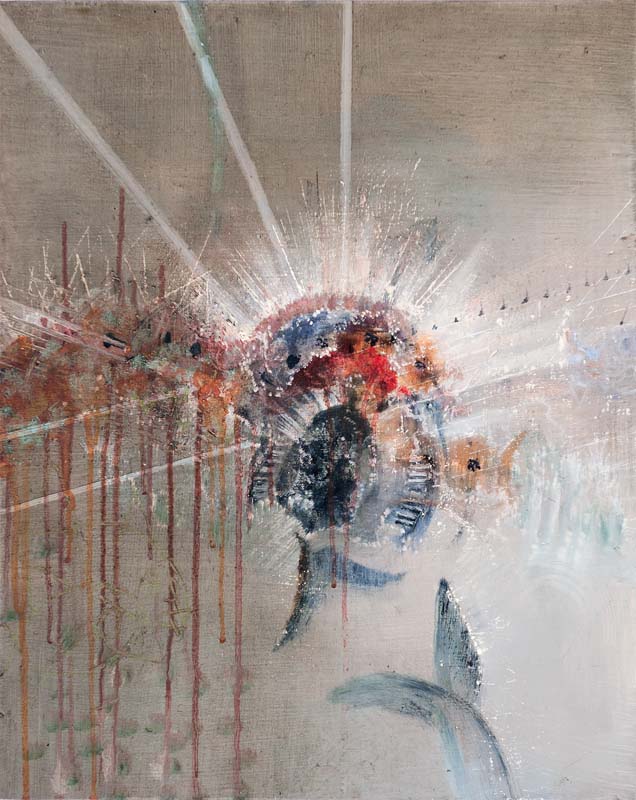
Paintings 2010
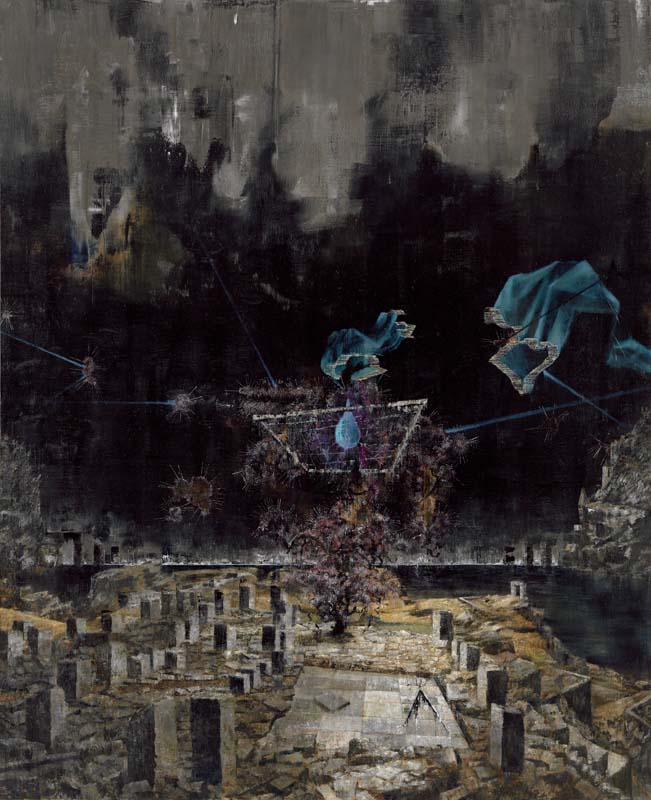
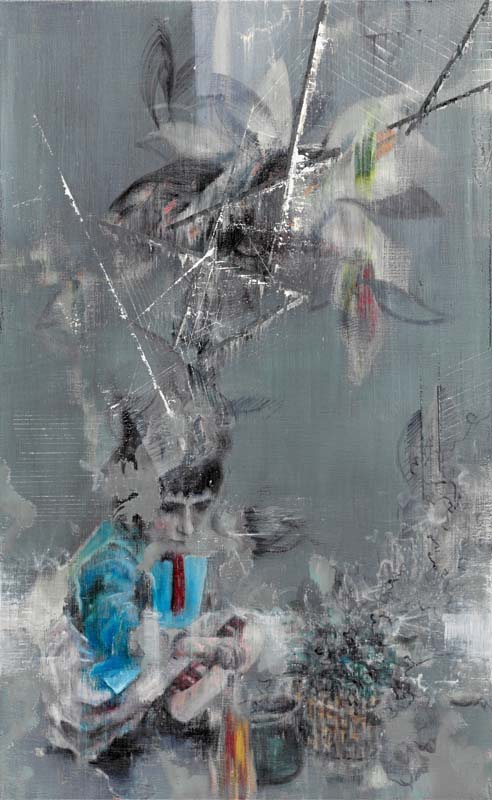
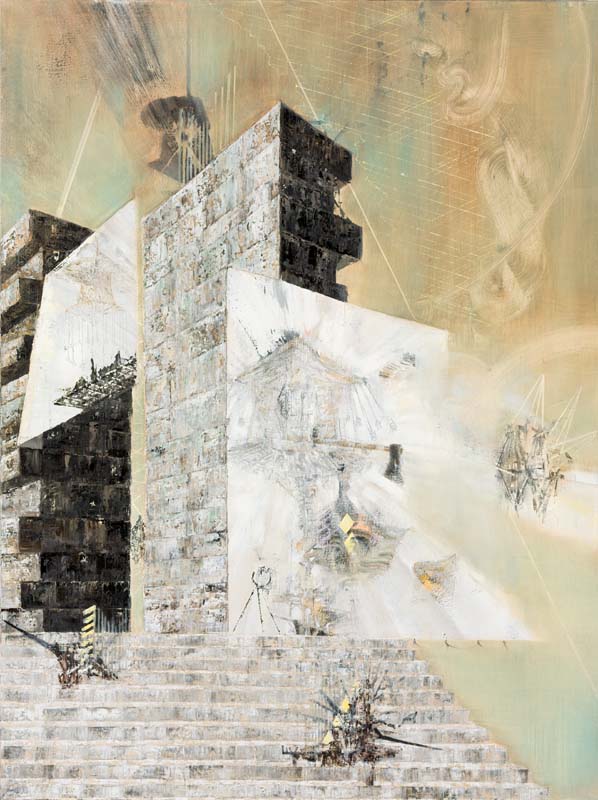
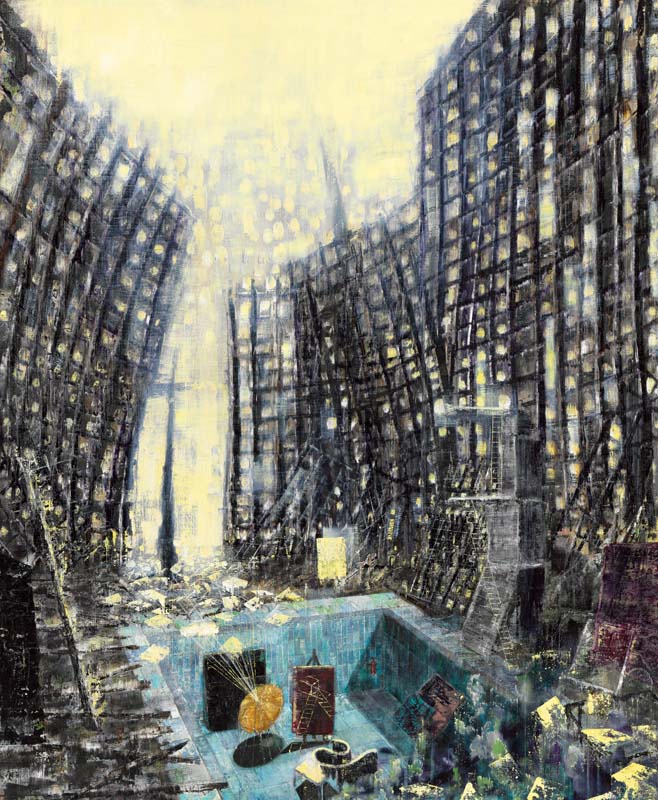
Arbeitsplatz/Tipasa I · Workplace/Tipasa I
270 × 220 cm
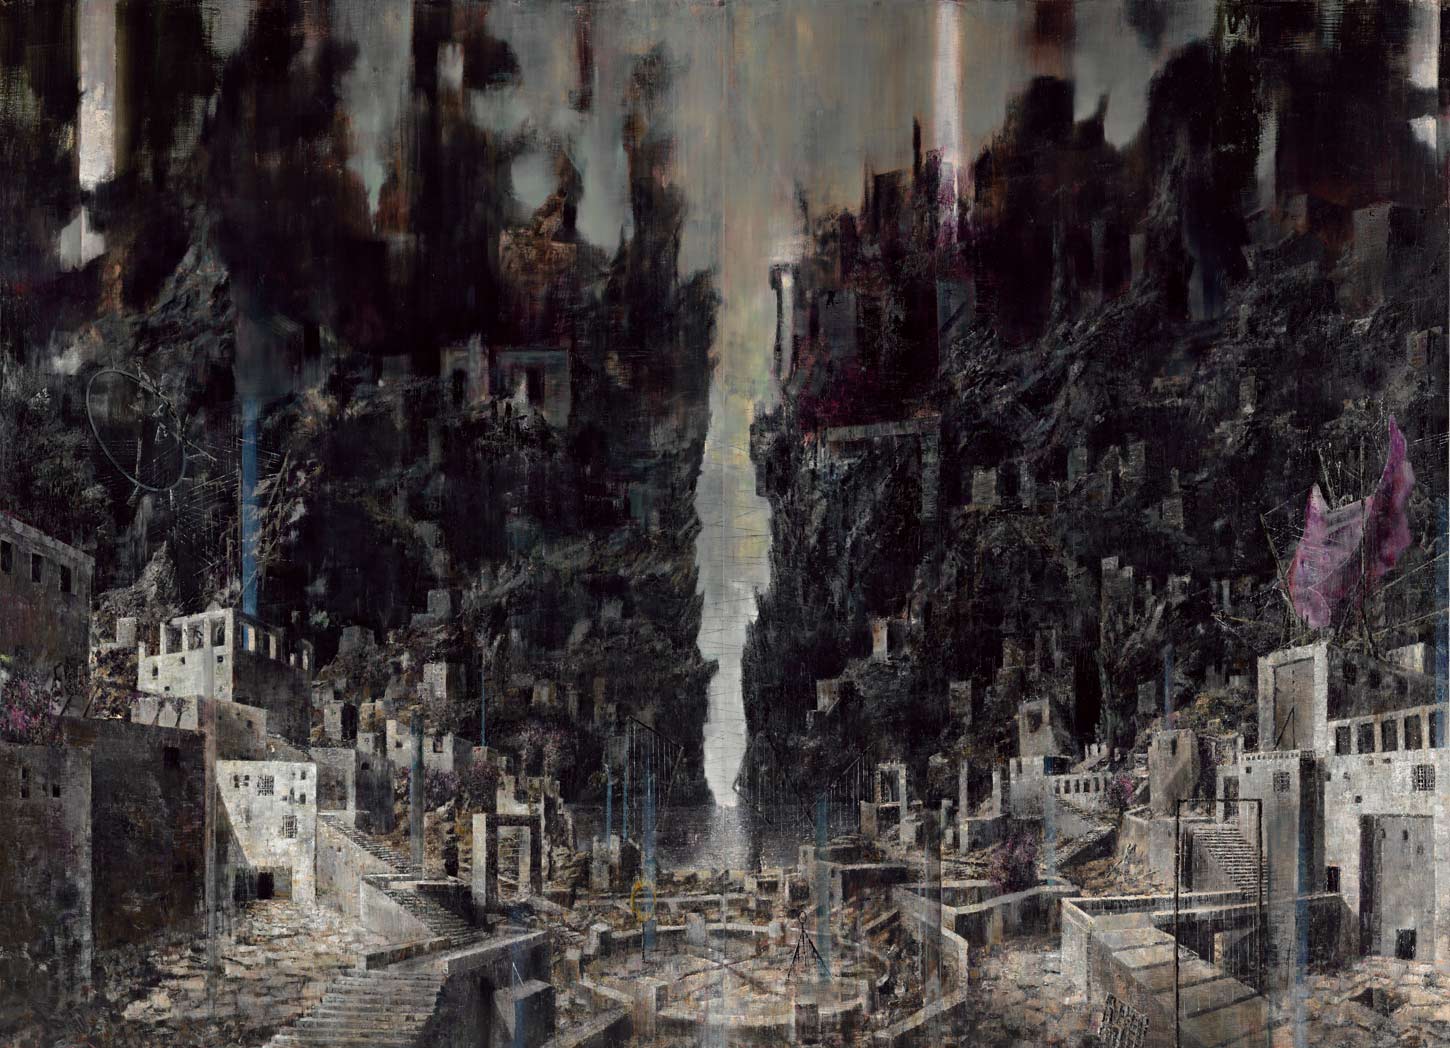
Arbeitsplatz/Tipasa II · Workplace/Tipasa II
260 × 170 cm


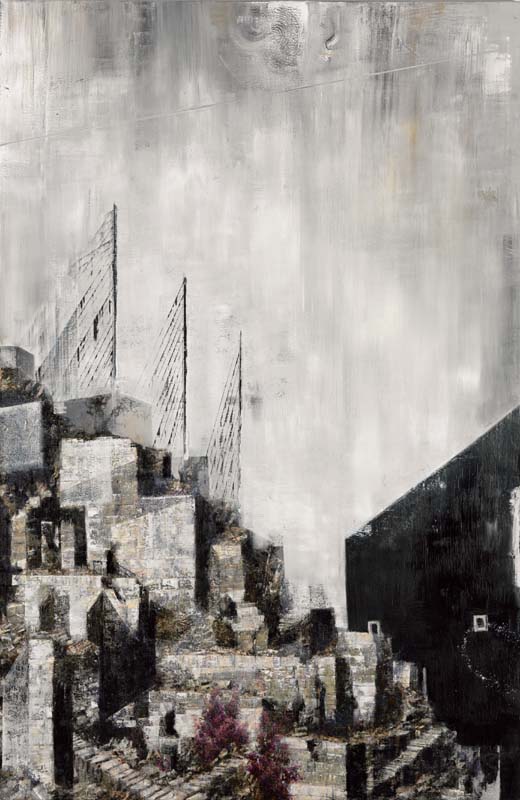
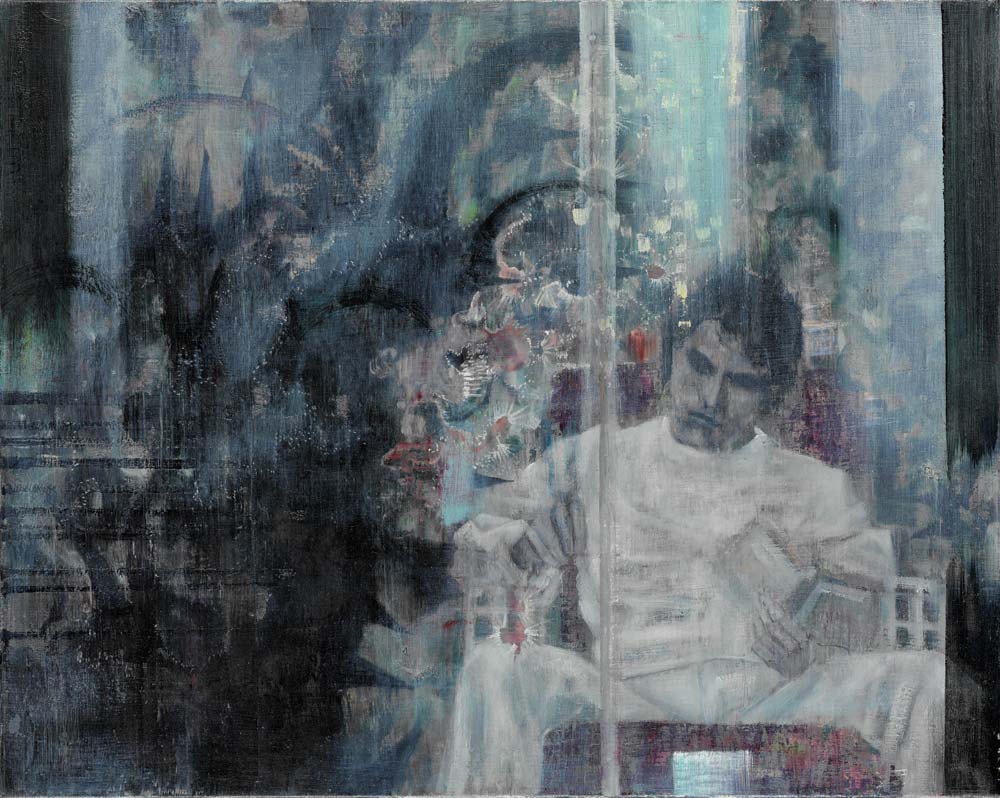
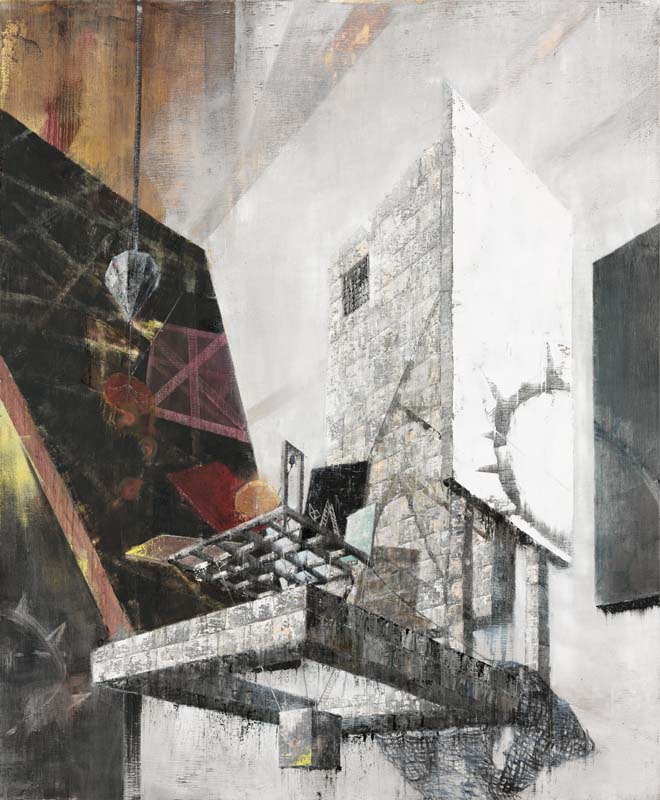
Atlier/Zwinger · Studio/Stronghold
200 × 150 cm
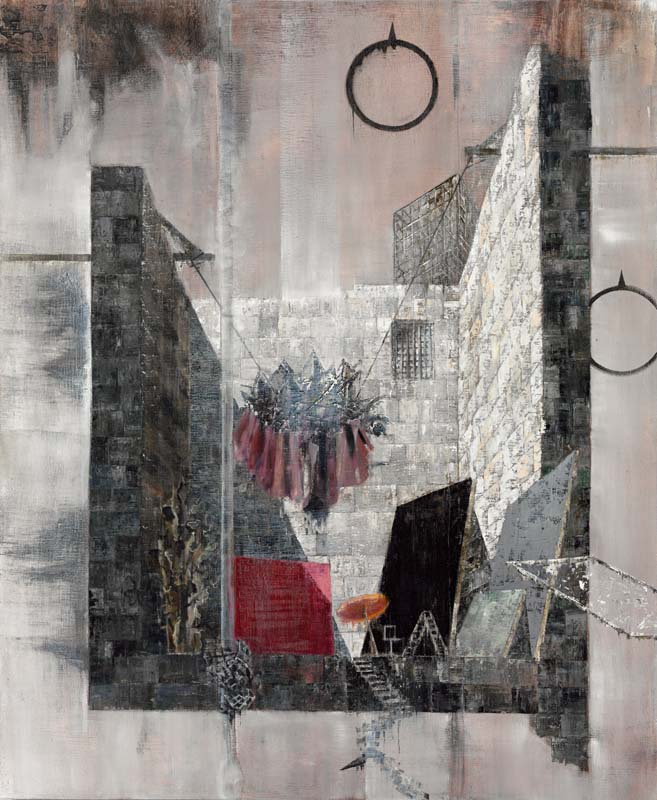
Atelier/Glocke · Studio/Bell
200 × 165 cm
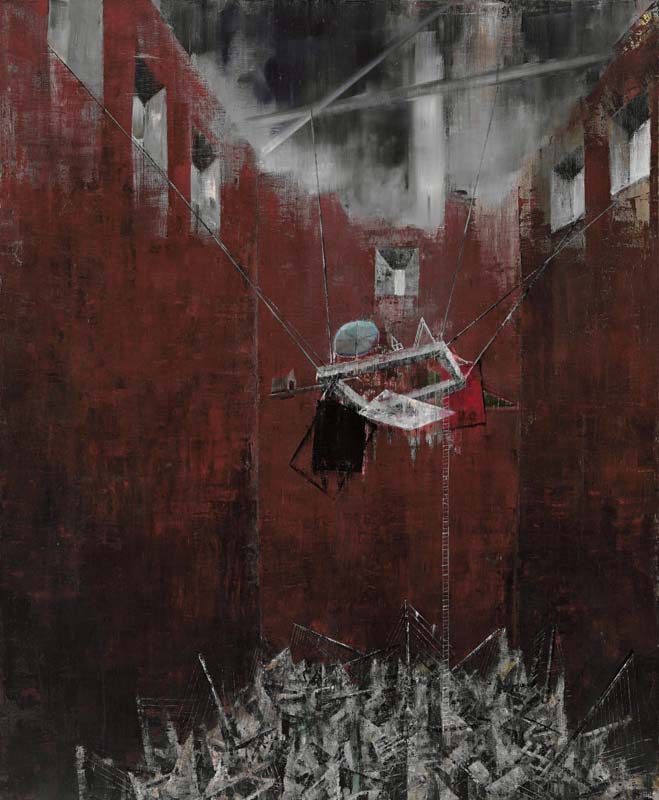
Atelier/Kraftverlies · Studio/Power Dungeon
200 × 165 cm
Atelier/Mondgrube · Studio/Moon Pit
200 × 165 cm

Atelier/Hochkant · Studio/Upright
200 × 165 cm
Atelier/Loge · Studio/Lodge
200 × 165 cm

Atelier/Dusche · Studio/Shower
200 × 165 cm

Atelier/Waschküche · Studio/Laundry
260 × 210 cm
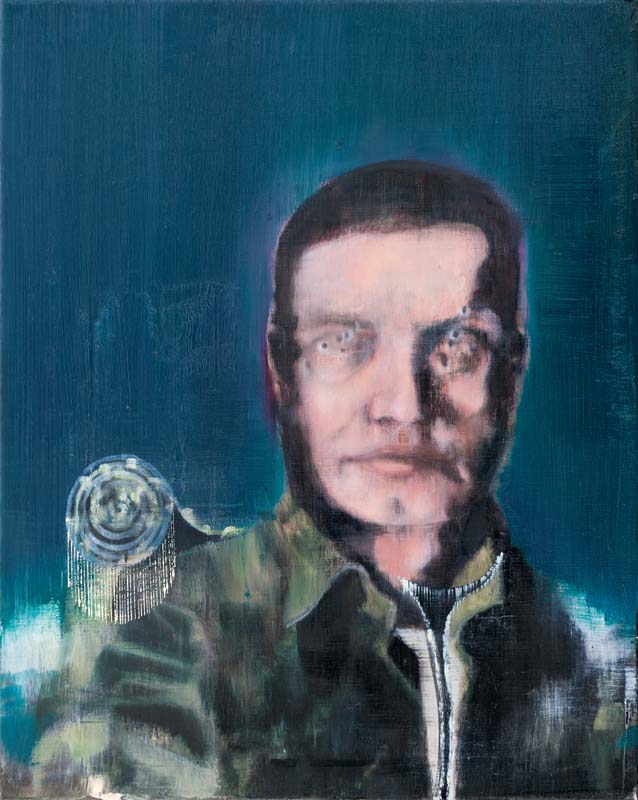
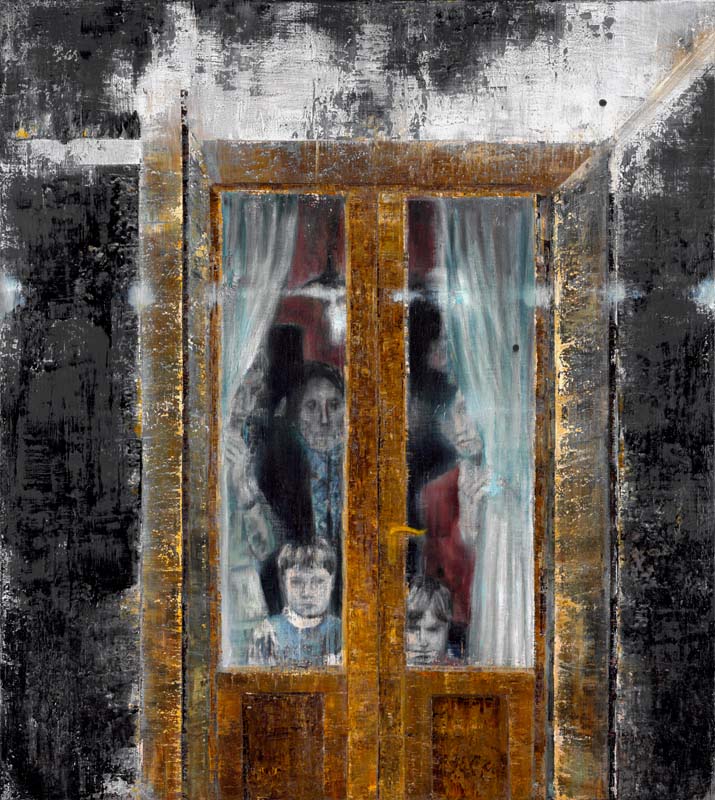
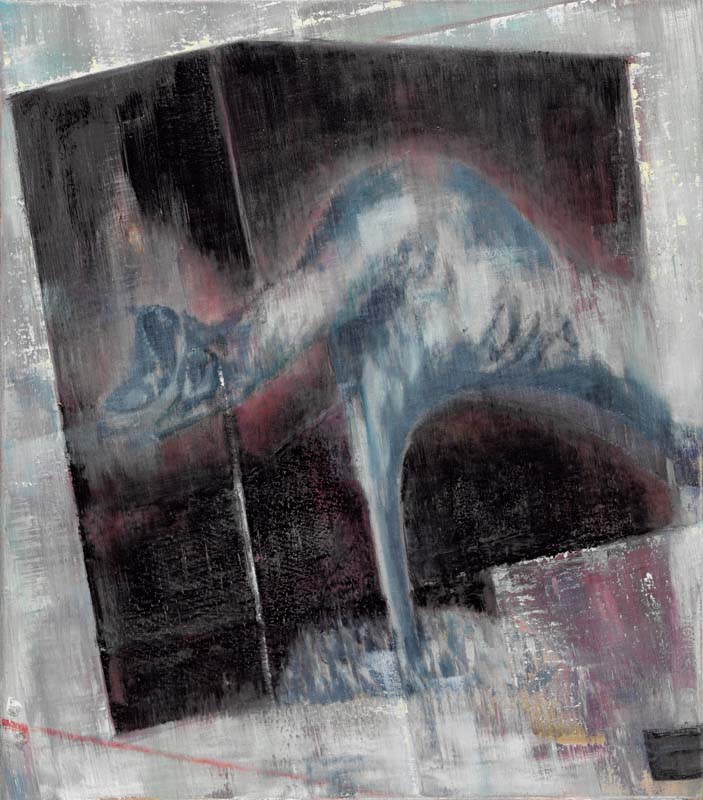
Schlafersatz · Sleep Substitute
50 × 40 cm

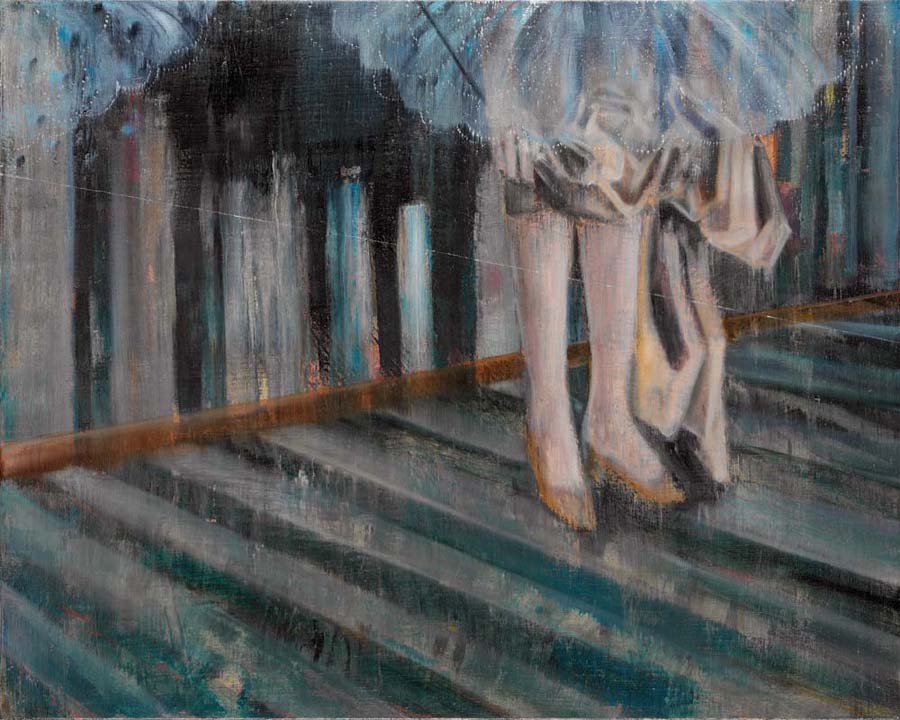
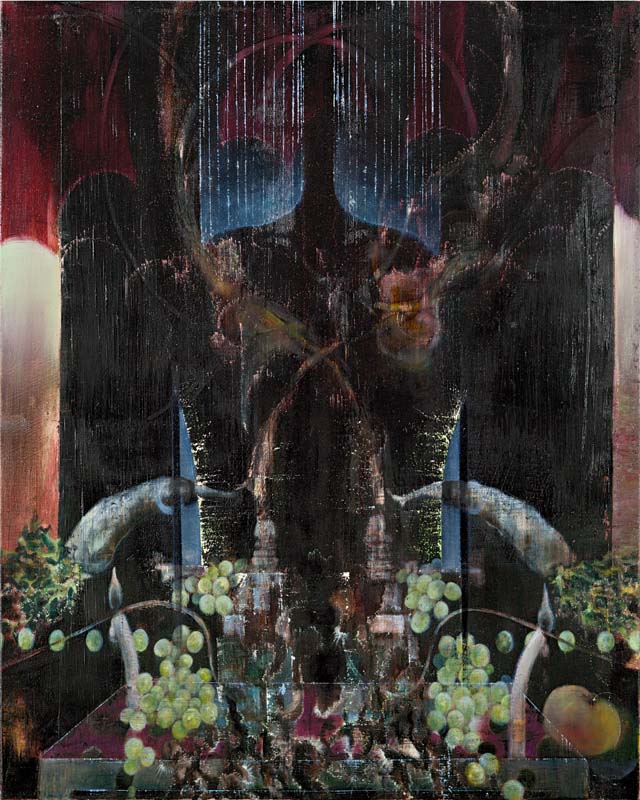
Pleroma/Klinge I · Pleroma/Blade I
130 × 85 cm

Pleroma/Klinge II · Pleroma/Blade II
130 × 85 cm
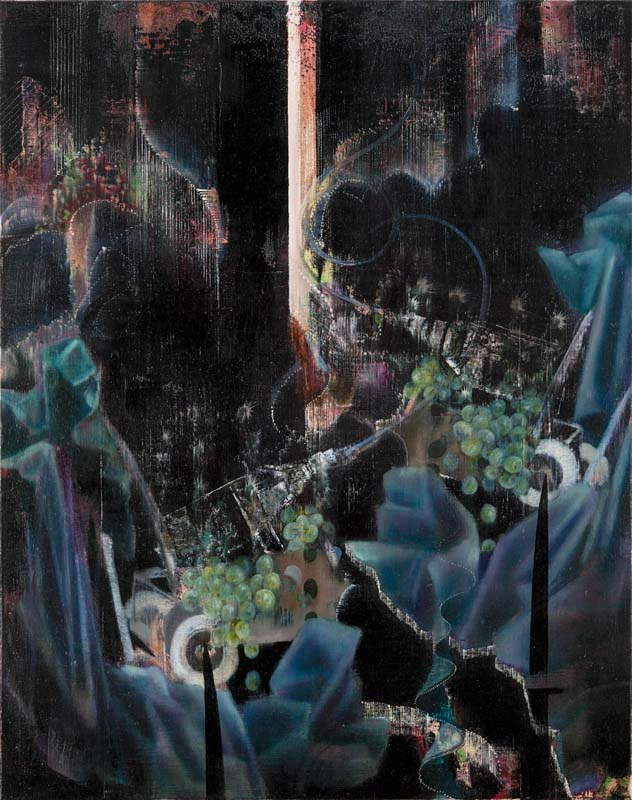
Pleroma/Schnitt I · Pleroma/Cut I
100 × 80 cm
Pleroma/Schnitt II · Pleroma/Cut II
100 × 80 cm
Blitz/Grab I · Lightning/Grave I
50 × 40 cm
Blitz/Grab II · Lightning/Grave II
50 × 40 cm
Blitz/Grab III · Lightning/Grave III
50 × 40 cm
Blitz/Grab IV · Lightning/Grave IV
50 × 40 cm
Blitz/Grab V · Lightning/Grave V
50 × 40 cm
Blitz/Grab VI · Lightning/Grave VI
50 × 40 cm

Blitz/Grab VII · Lightning/Grave VII
50 × 40 cm